
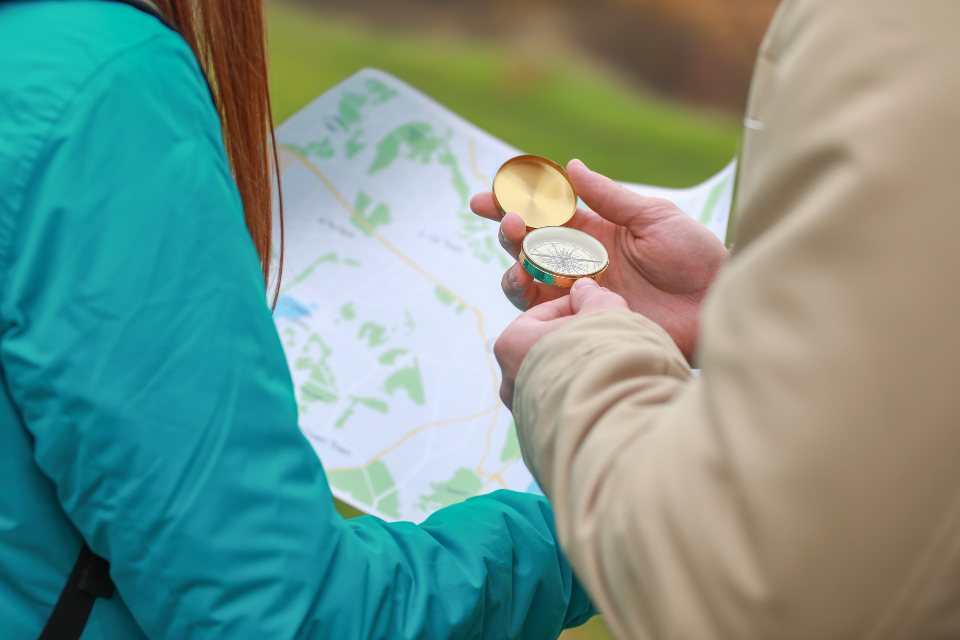
A phone with a mapping app is a wonderful thing, and we use one on nearly every hike. It is also a small glass rectangle that dies in the cold, cracks when dropped, and loses its mind under tree cover or in a narrow canyon. The map and compass in the lid of our packs weigh about 60 grams together and have never needed charging. Knowing how to use them is not nostalgia. It is the difference between a wrong turn that costs twenty minutes and one that costs a night out. Here is what every hiker should be able to do without a screen.
Reading contours before anything else
Most navigation errors start with not understanding the ground, not with the compass. Contour lines join points of equal elevation, and the interval between them is printed in the map margin: commonly 10 or 20 metres on 1:25,000 maps, 40 feet on many 1:24,000 maps. Lines close together mean steep; lines far apart mean gentle. A series of V shapes pointing uphill marks a valley or a stream bed, and the stream, if there is one, runs through the point of the V. V shapes pointing downhill mark a ridge or spur. Concentric rings with no others inside are a summit. A saddle or col shows as an hourglass between two sets of rings.
The habit worth building is to look at the map at every rest stop and say out loud what you should see next: a spur dropping off to the right, a stream crossing in 400 metres, the trail swinging northeast around a knoll. If what you see does not match, you have caught the error while it is still cheap.
Taking and following a bearing
A baseplate compass has a rotating bezel marked in degrees, a needle that points to magnetic north, an orienting arrow inside the housing, and a direction-of-travel arrow on the plate. To take a bearing from the map, lay the long edge of the baseplate along a line from where you are to where you want to go, with the travel arrow pointing toward the destination. Ignore the needle for now. Turn the bezel until the orienting lines inside the housing run parallel to the map’s north-south grid lines, with north on the bezel pointing to the top of the map. Read the number at the index line. That is your grid bearing.
To follow it, hold the compass flat at chest height, turn your whole body until the red end of the needle sits inside the orienting arrow, and walk in the direction of the travel arrow. Do not stare at the compass while walking. Pick an object on the bearing 50 to 200 metres away, a boulder or a distinctive tree, walk to it, then take the next one. In fog or whiteout, with nothing to sight on, send a partner ahead to the edge of visibility and wave them left or right onto the line.
Declination, and why it bites
Magnetic north and grid north are not the same place, and the angle between them is the declination, printed in the map margin along with the year it was measured. It ranges from near zero in parts of the American Midwest to 15 or 20 degrees in the Pacific Northwest and New England, and it drifts by a few tenths of a degree per year. Ignore a 15 degree declination on a 1 km leg and you arrive 260 metres from where you meant to. Over 5 km, that is more than a kilometre off.
The rule most people learn is: when going from map to compass, add east declination or subtract west; when going from compass to map, do the reverse. Many compasses now have an adjustable declination screw so you set it once and forget it. We prefer that, because doing arithmetic at 2,800 metres in sleet is when mistakes happen. Either way, write the local declination on the map with a marker before you leave the house.
Handrails, catching features and aiming off
Good navigators rarely walk on a pure bearing for long, because bearings drift. Instead they use the terrain. A handrail is a linear feature you can follow without thinking: a stream, a ridge crest, the edge of a forest, a fence line. Walking beside a stream for 2 km takes no skill and no concentration. A catching feature is something big and obvious past your target that tells you when you have gone too far: a road, a lake, a sharp change in slope. If your camp is 300 metres before a river, the river is your catching feature, and you cannot miss it.
Aiming off uses both ideas together. Suppose you need to hit a footbridge on a stream running across your path. Aim deliberately 10 degrees to the left of it. When you reach the stream, you know with certainty that the bridge is to your right, and you follow the bank to it. Aim straight at the bridge and you may reach the stream with no idea which way to turn.
Pacing and timing
Distance is the last piece, and it is measured with your legs. Count double paces, every time your left foot lands, over a known 100 metres on a flat trail. Most adults get between 60 and 70. Then count on the trail, moving a bead or a pebble from one pocket to the other every 100 metres. Your count rises by about 10 percent on a gentle climb and 20 percent or more on steep ground or in deep snow, so calibrate on the kind of terrain you will actually cross.
Timing is a rougher check. A fit hiker on a good trail covers about 4 to 5 km per hour on the flat, and loses roughly one minute for every 10 metres of ascent. A 3 km leg with 300 metres of climb should take about 40 minutes at 4.5 km/h plus 30 minutes for the climb, so 70 minutes. If two hours have passed and you are still not there, something is wrong.
When the phone fails
The phone will fail, and it will fail at the worst moment. Lithium-ion batteries lose 20 to 30 percent of their capacity at minus 10 C and can shut off entirely below minus 20 C, even when they show 40 percent charge. A screen in heavy rain stops responding to touch. Dense canopy, slot canyons and deep valleys degrade the position fix to 30 metres or worse. Keep the phone inside your jacket against your body, in airplane mode, and treat it as a luxury. The paper map in a zip bag and the compass on a lanyard are the plan, not the backup. Practise with them on easy days, when a mistake costs nothing, so the skill is there when it counts.