
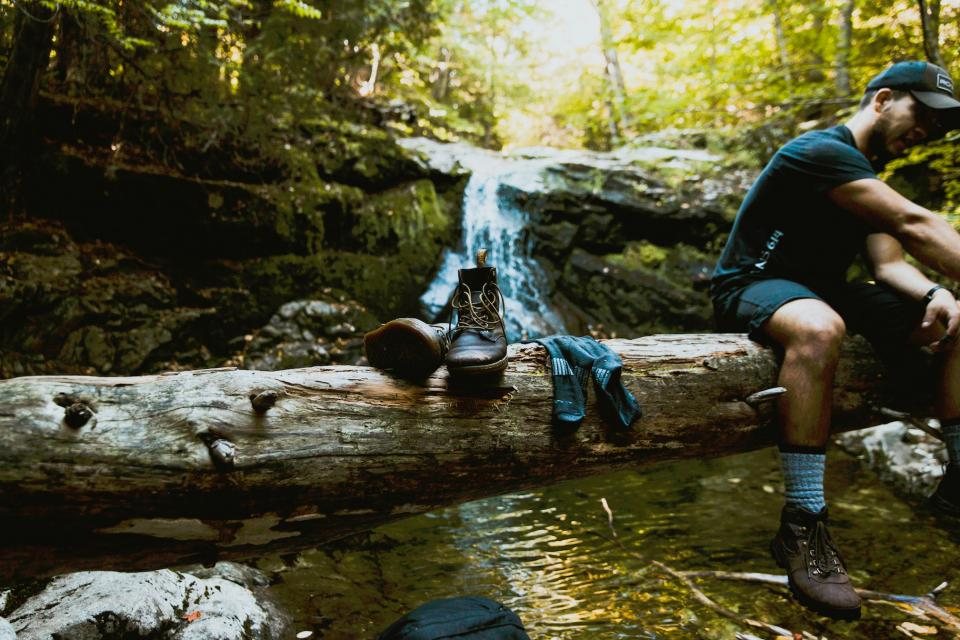
Nothing ends a good trip faster than a blister. Not the weather, not the climbs, not a heavy pack. A coin-sized patch of raw skin on a heel can turn a 25 km day into a limping ordeal and put you off walking for a week. The good news is that blisters are almost entirely preventable, and the few that get through can be managed on the trail with a small kit and a little discipline. We have made every mistake below at least once, so this is the guide we wish we had before our first long walk.
Why blisters form
A blister is a shear injury. It is not the boot rubbing on the skin surface; it is the layers of skin sliding against each other under repeated friction until they separate and fluid fills the gap. Three things make this worse, and they compound. Friction increases with any movement between foot and shoe. Moisture softens the outer skin, and wet skin has roughly two to three times the friction of dry skin, which is why blisters appear so much faster on rainy days or after a river crossing. Heat increases both sweating and the rate at which the skin weakens. Take away any one of the three and blisters become rare. Take away two and they mostly disappear. Feet that start dry and well laced are far harder to injure than feet that were damp and sliding before the first climb.
Socks are the system
Socks do more to prevent blisters than boots do. A good hiking sock is a wool or wool-synthetic blend, snug enough not to wrinkle, with padding under the heel and forefoot and no seam across the toes. Cotton is out, since it soaks up sweat and holds it against the skin. Sock weight should match the shoe: a thin 25 to 30 gram sock in a close-fitting trail shoe, a midweight 50 to 60 gram sock in a roomier boot.
The two-sock system works for people who blister easily. A thin nylon or polypropylene liner goes on first, and the hiking sock over it, so the friction happens between the two socks instead of between sock and skin. It adds warmth, so it suits cool conditions better than hot ones. The other proven trick is simply to change socks. On a long day we carry a spare pair and swap at lunch, hanging the damp pair on the pack. A dry sock at midday cuts the afternoon blister rate more than any powder or cream.
Lacing that stops the slide
Most heel blisters come from the heel lifting a few millimetres on each step. The fix is at the top of the boot, with a heel lock. Thread the lace through the top two eyelets on each side to form a loop, then pass the opposite lace through that loop before tying. Pulling tight locks the ankle down into the heel cup without crushing the forefoot. For a foot going numb or a toe bruising on descents, skip an eyelet over the sore spot, using a window lacing, so the pressure passes around it. Before a long descent, retie the boots tighter at the ankle; on a long climb, loosen them slightly across the instep to let the foot flex.
Fit needs a few numbers too. Sized right, there is a thumb width of about 10 to 12 mm between the longest toe and the end of the boot, with the foot pushed forward. Feet swell over a day of hiking by half a size or more, and by a full size on multi-day trips in heat, so try boots on in the afternoon wearing the socks you will hike in.
Hot spots: the five-minute rule
A hot spot is the warm, slightly stinging patch that arrives 20 or 30 minutes before a blister does. It is the most important warning your body gives you, and the rule is absolute: stop within five minutes and deal with it. Every hiker who has walked on a hot spot, telling themselves the next break would do, has arrived there with a blister. Dealing with it means taking off the boot and sock, drying the foot, and covering the spot with one of these:
- A strip of 2.5 cm cloth tape or kinesiology tape, applied smooth with rounded corners so it does not peel
- A hydrocolloid blister plaster, which cushions and stays on for two or three days
- A patch of adhesive foam or moleskin with a hole cut for the hot spot, so the surrounding skin takes the load
Tape on dry skin lasts far longer, so wipe the area with an alcohol swab first. Hikers who know their trouble spots tape them at the trailhead every morning, before any sign of a problem. For a bad heel, we tape from under the arch up around the back and over the Achilles tendon, so the tape cannot slide down.
Draining a blister, or not
Once a blister has formed, the roof of skin over it is the best dressing you have, and the advice is to leave it alone if it is small and not painful. A blister you cannot walk on is a different matter. Draining it is reasonable on the trail if you do it cleanly: wash the area, sterilise a needle in a flame or with alcohol, make two small holes at the edge of the blister, press the fluid out gently with clean gauze, and leave the roof in place. Cover with a hydrocolloid dressing or a doughnut of foam and tape. Check it morning and evening for spreading redness, pus, or heat, which are signs of infection and a reason to shorten the trip. Never drain a blood blister, and never remove the roof of skin; the raw layer underneath is far more painful and heals far slower.
Toenails, swelling and the long game
Toenails need cutting straight across, short, two or three days before a trip so any rough edge has softened. A long nail jams into the front of the boot on every downhill step, bruising the nail bed, and the black nail that follows takes six months to grow out. If descents still hurt at the toes, the boot is too short or the heel lock too loose.
Swelling is normal and worth planning for. Feet lengthen and widen over a hot day, and on a week-long trip they can stay swollen the whole time. Loosen the laces at each break, and get the boots off and the feet up at lunch for ten minutes. In camp, rinse the feet, dry them completely, and sleep in a clean pair of socks kept for that purpose only. Dry feet recover every night; damp feet break down by day three. Look at them before bed, deal with anything you find, and they will carry you a long way.